Achieving that flawless salon-quality blowout at home used to be a dream for many. However, with advancements in beauty tools, this has become the reality. Enter the hot air brush—a versatile, all-in-one styling tool designed to dry, smooth, volumize, and curl your hair, replicating the results of a professional blow-dry without the hefty salon price tag. But to get the best results, you need to know the right techniques and tips.
In this comprehensive guide, Huux, as a leading OEM hot air brush manufacturer, will take you explore how to use a hot air brush to achieve those stunning, salon-quality results in the comfort of your own home. From understanding the mechanics of a hot air brush to the specific steps for different hair types, this guide will help you master the art of the at-home blowout.
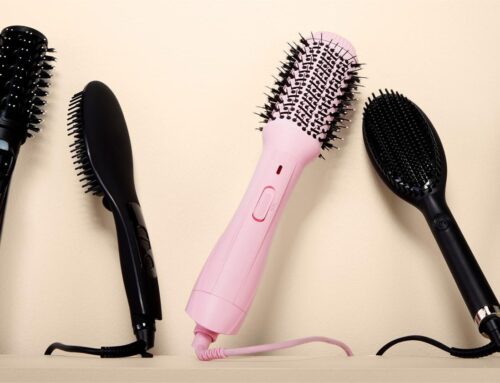
Why Choose a Hot Air Brush?
Before diving into the steps, let’s understand why a hot air brush is such a game-changer.
- Multi-functional Tool: It combines the power of a hairdryer and a round brush in one device. This allows you to style while drying, making the process faster and more convenient.
- Versatility: Hot air brushes are designed to do more than just dry your hair. They add volume, smooth frizz, and can create soft curls or waves, all in one tool.
- Gentle on Hair: Compared to flat irons or curling irons, hot air brushes use lower heat levels, which reduces the risk of heat damage, making them a healthier option for regular use.
Whether you have thin, thick, curly, or straight hair, the hot air brush offers a solution that can enhance your hair’s natural beauty while providing long-lasting, salon-quality results.
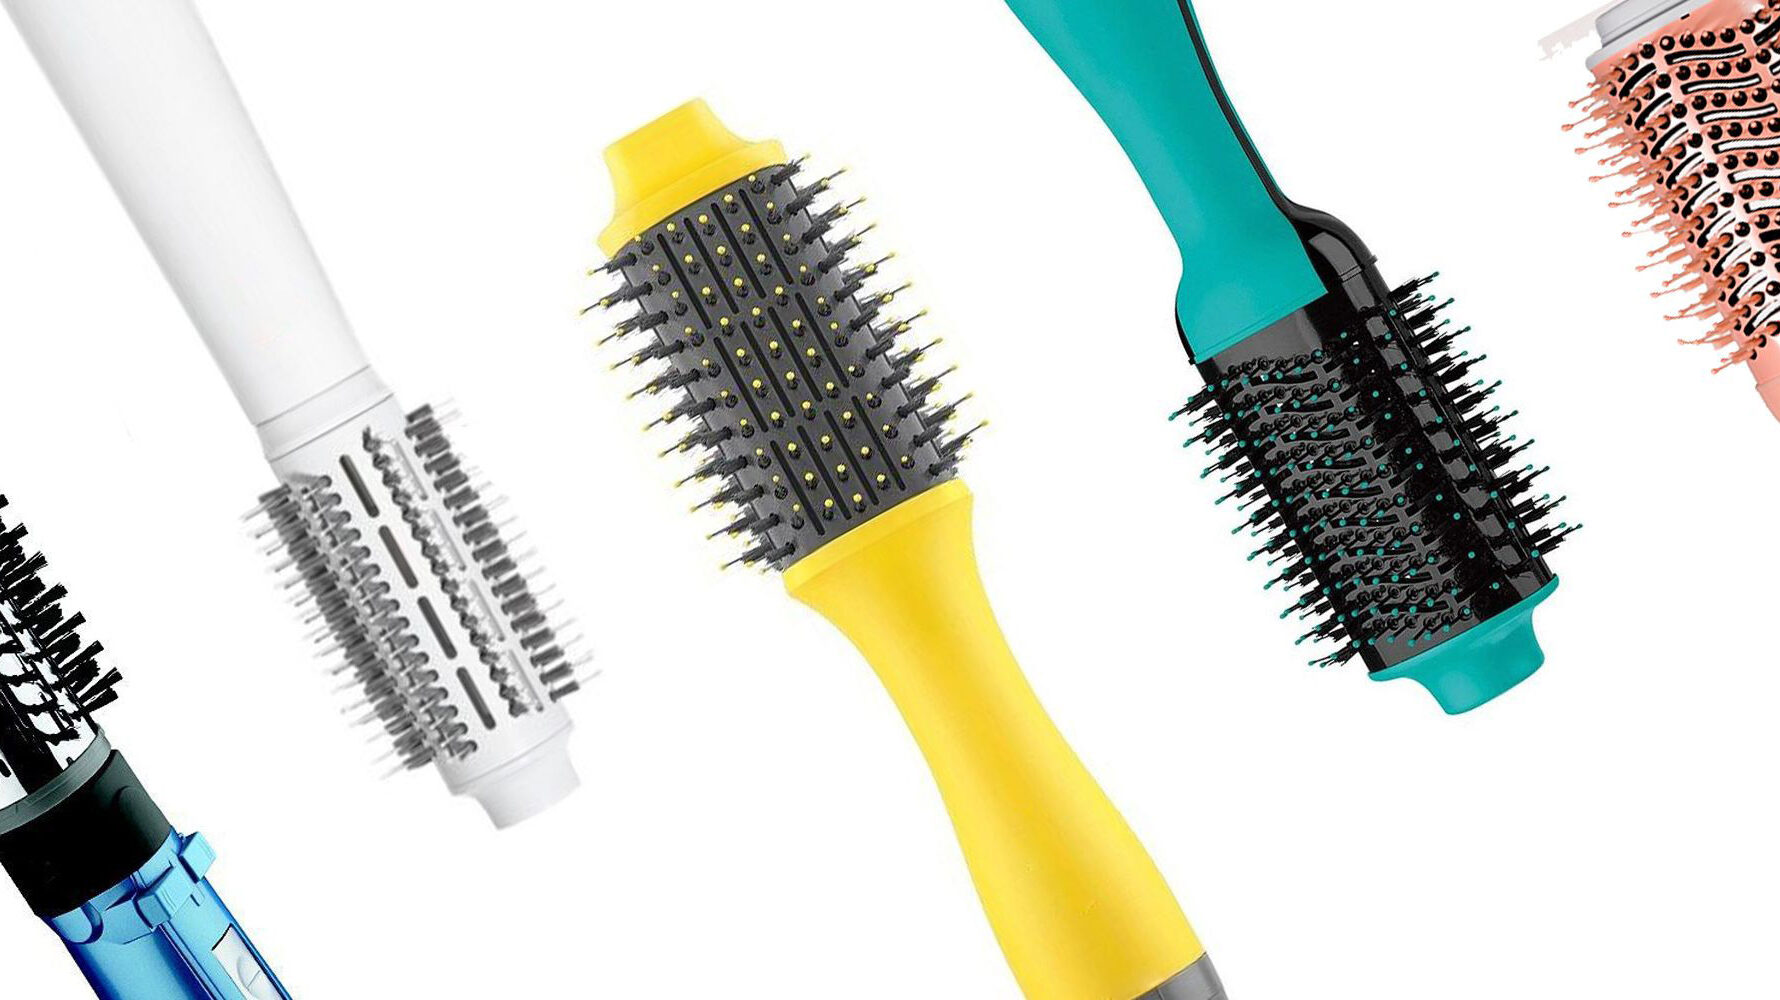
wholesale hot air brushes, unit price: USD3.88
Step-by-Step Guide to Using a Hot Air Brush
Let’s break down the process into easy-to-follow steps, so you can achieve that salon-finish look every time.
Step 1: Start with Moist, Clean Hair
To get the expected results, always begin with hair that is freshly washed. Towel dry the hair until it’s about 70-80% dry. Hair being too wet may take longer to style, while hair being too dry may not hold the shape as well. This damp stage is the best period for hot air brushes, as it allows the brush to style and finish drying your hair simultaneously.
Tip: Use a heat protectant spray to shield your hair from any heat damage. Even though hot air brushes use lower heat compared to straighteners, it’s still a good idea to protect your strands.
Step 2: Section Your Hair
Divide your hair into manageable sections. For thicker hair, you may want to divide it into more sections, while thinner hair may require fewer. Clip the sections you’re not working on out of the way. This ensures each section is styled evenly and allows the brush to focus on smaller, more controlled areas, leading to a more polished look.
Tip: Start from the bottom layers and work your way up. This will help you maintain better control over the styling process.
Step 3: Choose the Right Heat and Speed Settings
Most hot air brushes come with adjustable heat and speed settings. If you have fine or damaged hair, use a lower heat setting to minimize the risk of damage. For thicker or coarser hair, a higher heat setting will help tame and style your hair more effectively.
For extra volume, opt for a higher speed setting as you brush through your roots. The air circulation will lift the hair at the root, giving you more bounce and volume.
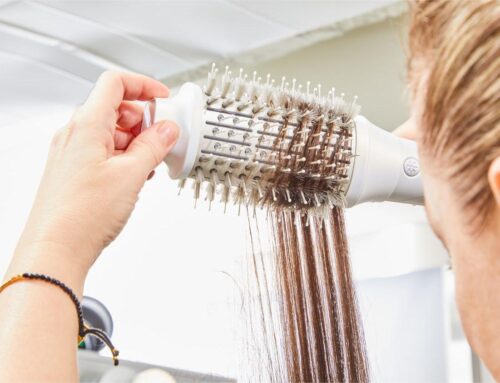
Step 4: Begin Styling
Take one section of hair and place the hot air brush near the roots. Slowly pull the brush through your hair while rotating it as you move toward the ends. This rotating motion will help smooth the hair and create soft curls or waves. For a straight and sleek look, skip the rotation and just brush through the hair slowly, letting the air do its job.
Tip: If you’re looking to add more volume, focus on lifting the roots by keeping the brush near the scalp for a few extra seconds before pulling it through the rest of your hair.
Step 5: Finish with a Cool Shot
Once you’ve styled each section, use the “cool shot” feature on your hot air brush. This blast of cold air helps to set the style in place and adds shine. It also locks in the volume or curls, making your hairstyle last longer throughout the day.
Tip: For a bouncy blowout, try rolling the brush inward at the ends of your hair as you use the cool shot to lock in that rounded, voluminous shape.
Styling Tips for Different Hair Types
One of the reasons hot air brushes are so versatile is that they work for a variety of hair types. However, the technique can vary depending on your hair’s texture, thickness, and length.
For Fine or Thin Hair
Fine hair can be prone to falling flat quickly, so volume is key. Use a volumizing mousse before starting and always opt for lower heat settings to avoid heat damage. To maximize volume, focus on lifting the hair at the roots and consider using a smaller barrel size to create tighter curls or waves that will last longer.
Tip: Hold the brush at the root for a few seconds before moving downward for added lift.
For Thick or Coarse Hair
Thick hair can take longer to dry and style, so divide it into smaller sections to ensure every part is fully styled. Use a higher heat setting for better control, and if frizz is a concern, apply a smoothing serum before styling. Larger barrel brushes are ideal for creating smoother, looser waves.
Tip: To avoid frizz, always work in small sections and make sure each part is completely dry before moving on.
For Curly Hair
Curly hair can be tricky, but a hot air brush can help smooth and shape curls without removing them completely. Opt for a medium heat setting and focus on gently stretching and smoothing the curls rather than straightening them. You can still retain some natural curl while adding smoothness and volume.
Tip: If you want to maintain your curls but reduce frizz, use the brush without rotating and gently guide it through your curls.
Maintaining Your Hot Air Brush for Longevity
To keep your hot air brush working effectively and ensure its longevity, make sure to clean it regularly. Hair and product buildup can accumulate on the brush over time, which can affect its performance. After each use, remove any loose hair from the brush and wipe it down with a damp cloth. If the bristles start to look worn, it might be time to replace the attachment (if your brush allows for interchangeable heads).
Tip: Always unplug your hot air brush when cleaning it, and avoid submerging it in water to prevent damage to the internal components.
Conclusion
A hot air brush is the perfect tool for anyone looking to recreate salon-quality styles at home. With its multi-functionality, it’s easy to achieve volume, smoothness, and shine all in one go. By following the steps and tips outlined above, you’ll be well on your way to achieving the perfect blowout without the need for professional help. Whether you have fine, thick, or curly hair, a hot air brush can transform your styling routine, giving you the power to create stunning, long-lasting styles with ease.
Remember, practice makes perfect. The more you use your hot air brush and experiment with different techniques, the better you’ll get at mastering the tool for your specific hair type and desired style.
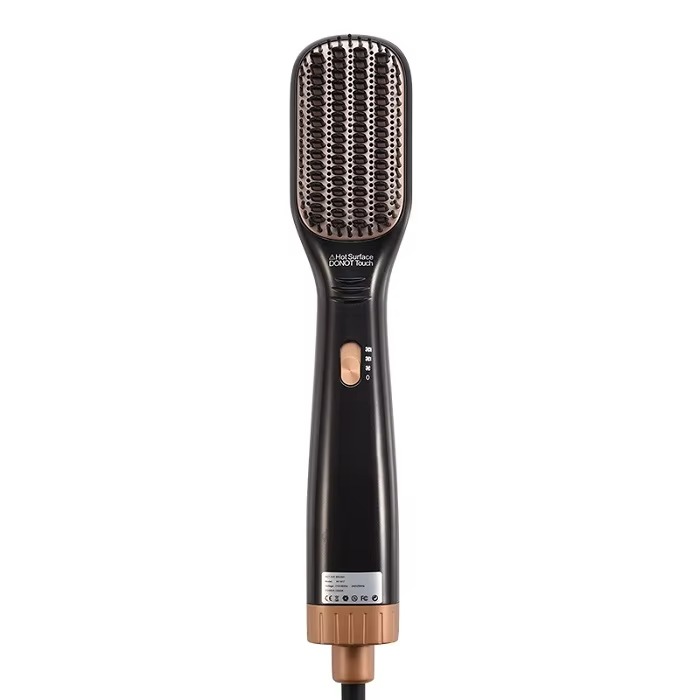
Still looking for automatic fast heating hot air brushes and combs in bulk? Huux has the perfect solution with all kinds of models for your needs. Just leave an online message or email info@huux.com, and we will reply as soon as possible!