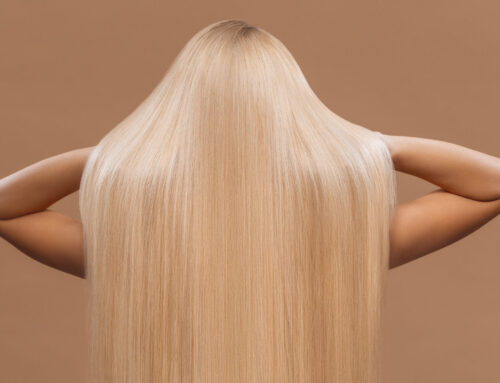
Having sleek, straight hair has been a coveted look ever since it became an international symbol of elegance, professionalism, and style. Whether you’re aiming for a polished appearance in a professional setting or a chic style for a night out, a hair straightener is a staple tool to help you achieve this desirable look. At Huux, we specialize in crafting high-quality hair straighteners that deliver exceptional results while protecting your hair. We’ve created this comprehensive guide to walk you through the key steps to straighten your hair like a pro—from prepping your strands to choosing the right tool and applying proper techniques for smooth, shiny, and long-lasting results. Keep reading to discover the ultimate hair straightening routine, including expert tips, must-have tools, and styling secrets for flawless, sleek results every time.
Step 1: Choose the Right Hair Straightener
Choosing the right hair straightener is a crucial step in achieving your desired hairstyle, while also ensuring the health of your hair. Take a look at some key factors worth considering down below before committing to your personalized purchase.
Plate Material
The plate material of a hair straightener significantly impacts how evenly heat is distributed, how quickly results are achieved, and how gentle the tool is on your hair. Here are some common plate materials and their own unique benefits:
- Ceramic Plates: Ceramic plates are excellent for distributing heat evenly and reducing the risk of hot spots that can cause hair damage. They glide effortlessly through the hair, helping to minimize tugging, snagging, and breakage. This makes them an ideal choice for individuals with fine to normal hair types.
- Titanium Plates: Known for their durability and fast heating capabilities, titanium plates maintain a consistent temperature and can handle high heat. They are excellent for thick, coarse, or stubborn hair that requires higher temperatures to straighten effectively.
- Tourmaline Plates: Tourmaline produces negative ions to offset the positive ones among dry and damaged hair, deductingany static or frizz. These plates are ideal for anyone seeking a smooth, glossy finish. Tourmaline is often infused into ceramic plates to enhance their performance, providing even smoother gliding and increased negative ion output.
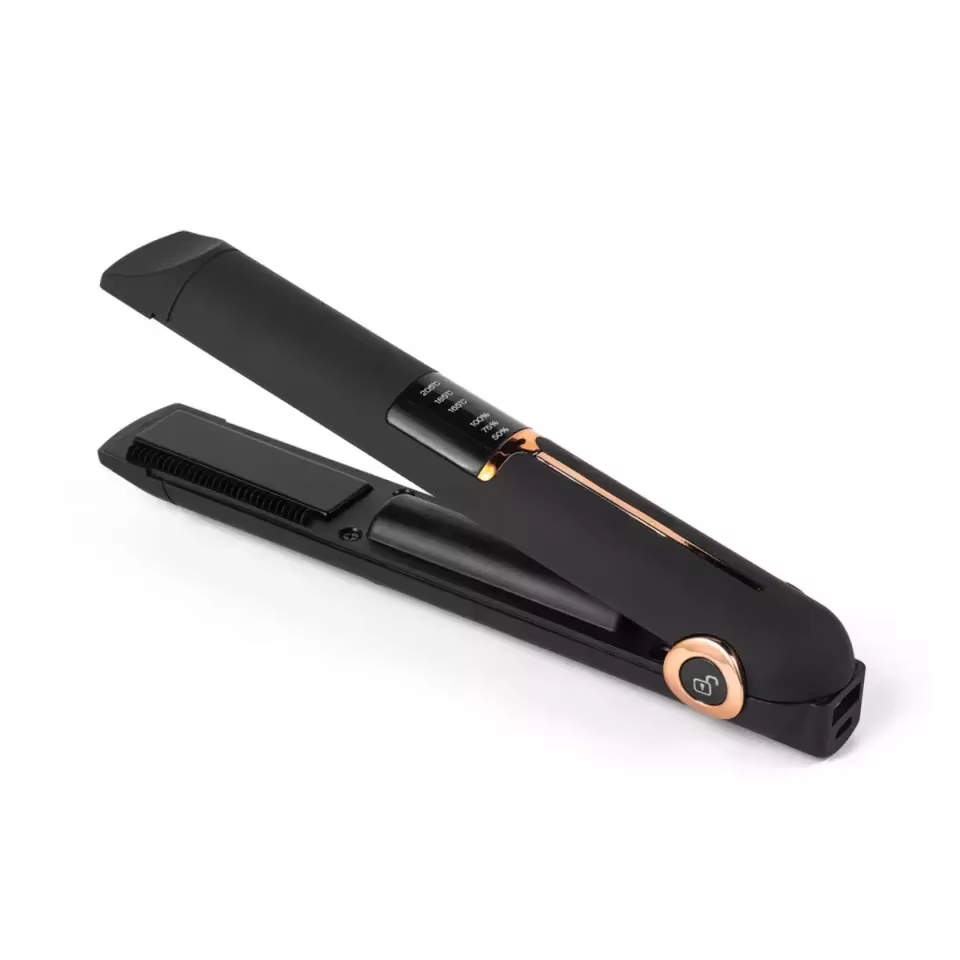
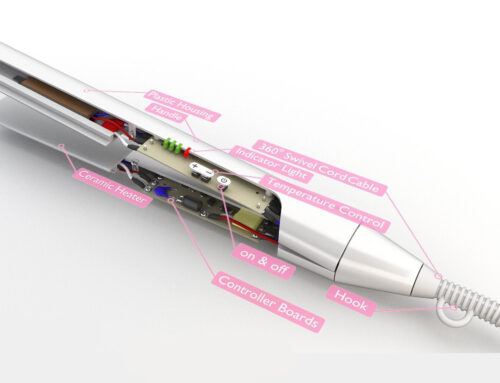
Huux Cordless Ceramic Coating Flat Iron LCD
Plate Size
The size of the hair straightener plates should be chosen based on your hair length and type:
- Narrow Plates (0.5 to 1 inch): Ideal for short hair, bangs, or creating curls and waves. Their slim design offers greater precision and control, making it easier to style smaller sections and achieve detailed looks.
- Standard Plates (1 to 1.5 inches): Suitable for most hair lengths and types. These versatile plates can handle a variety of styling needs, from straightening to curling.
- Wide Plates (1.5 inches and above): Ideal for long, thick, or coarse hair. Wide plates cover more surface area, reducing styling time and ensuring even straightening for dense hair.
Temperature Settings
Having adjustable temperature settings is crucial to customizing the optimal heat level for your hair type. Here are some general guidelines to help you choose the right setting:
- Fine or damaged hair: Use a lower temperature, between 250°F and 300°F (120°C to 150°C), to prevent excessive heat damage.
- Normal hair: A medium temperature range of 300°F to 350°F (150°C to 175°C) is generally suitable for effective straightening.
- Thick or coarse hair: Higher temperatures, between 350°F and 400°F (175°C to 200°C), may be necessary to achieve the desired results. Always start at a lower temperature and gradually increase if needed. Using a heat protectant spray can further safeguard your hair from potential heat damage.
At Huux, we offer a diverse range of hair straighteners, each designed to cater to different hair types and styling needs. You can visit our homepage for more information by clicking here.
")
")
Step 2: Prepare Your Hair
Properly prepping your hair before using a straightener is crucial for achieving sleek, long-lasting results while minimizing heat damage. Whether you have fine, thick, or curly hair, taking the right steps before straightening can make all the difference. Below is an in-depth guide on how to effectively prepare your hair for straightening, ensuring smooth styling and healthier strands.
Wash and Condition Your Hair
First off, you’ll want to start with clean hair to ensure the straightener glides smoothly and delivers consistent results. We recommend using a conditioner to hydrate and protect your hair during the process. Focus on applying the conditioner to the mid-lengths and ends of your hair, as these areas are typically the driest and most vulnerable to damage. Let the conditioner sit for the recommended time to allow proper absorption, then rinse thoroughly to avoid buildup.
Dry Your Hair Completely
If you’ve ever attempted to straighten slightly damp or completely wet hair, you’ve probably heard those alarming sizzling sounds or even seen wisps of steam rising from the contact point. This isn’t just unsettling; it’s a clear sign that your hair is undergoing heat damage. Using a hair straightener on wet hair can cause moisture inside the hair shaft to rapidly heat up and expand, leading to breakage, frizz, and long-term damage. If you need to dry your hair quickly, use a blow dryer. (You can check out our article on how to use your hair dryer correctly by clicking here.) If you want to take your time and do a thorough job, using a towel to gently pat your hair dry is the way to go. Letting it air-dry naturally is also a great option.

Apply a Heat Protectant
A heat protectant serves as a barrier between your hair and high-temperature styling tools like hair straighteners. It plays a key role in minimizing heat-induced damage and keeping your hair healthy. Still, many people skip this step, thinking it’s unnecessary or not worth the effort for something that seems so routine. That is unfortunately not the case.
Start incorporating heat protection sprays or serums into your routine! It’s a simple step that can lead to salon-worthy results. Make sure to apply the product evenly throughout your hair, avoiding the scalp to prevent excess oiliness. For added nourishment, consider using a leave-in conditioner before blow-drying as we’ve discussed in the previous section of this article. If you’re concerned about heavy formulas, choose a lightweight option to keep your hair feeling fresh. No matter your hair type, this step shouldn’t be overlooked.
Step 3: Section Your Hair
Now that we’ve finished prepping our hair, it’s time to move on to the main event—styling. With your strands protected and ready, you can now use your hair straightener to achieve that sleek, polished look while keeping damage to a minimum. Some people experience difficulty in keeping their strands straight and smooth, and that is often because they don’t section their hair properly.
Hair sectioning is a fundamental step in achieving smooth, evenly straightened hair. Properly dividing your hair into sections ensures that each strand is exposed to an equal amount of heat, resulting in a consistent and polished finish. At Huux, we strongly recommend you section your locks for optimal results. Here’s a complete guide on how to expertly section your hair for straightening:
Gather Your Tools
Before you begin sectioning your hair, gather the necessary tools to make the process easier and more efficient. You’ll need a variety of gadgets such as hair clips, combs, and mirrors. Alligator clips or duckbill clips are great choices for holding sections securely. Other sturdy options include jaw clips or butterfly clips, which also provide a strong grip without slipping. A tail comb or a fine-tooth comb is ideal for creating precise sections. As for the mirror setup, your vanity or bathroom mirror will suffice, but a handheld mirror is preferred so that you can see the back of your head and ensure precise styling.

Tail Combs
Creating Sections
Start sectioning your hair by dividing it into horizontal layers. This method is the most efficient for managing your hair.
Next, take each layer and break it down into smaller, more manageable sections to ensure precise and effective straightening. As you work through these sections, use clips to secure each one separately, preventing tangling and making the styling process smoother and more organized.
After you’ve finished sectioning your hair, get ready to start straightening each section carefully and methodically for the best results.


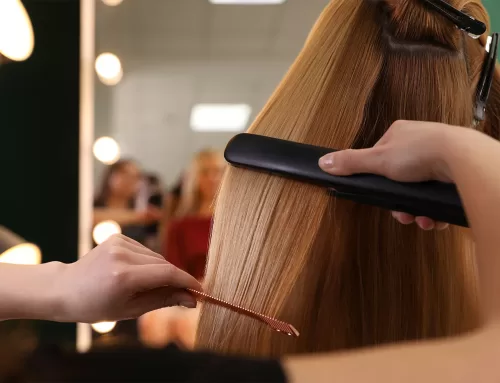
Step 4: Straighten Your Hair
Straightening your hair involves more than simply running a flat iron through it. To achieve a sleek, smooth, and long-lasting look, you need to follow a systematic approach and use the right techniques. Here’s how to effectively straighten your hair for salon-quality results step by step:
Heating Up the Straightener
Begin by setting your Huux hair straightener to the appropriate temperature for your hair type. Here’s a quick reminder of the temperature settings:
- Fine or damaged hair: 250°F to 300°F (120°C to 150°C)
- Normal hair: A medium temperature range of 300°F to 350°F (150°C to 175°C)
- Thick or coarse hair: Between 350°F and 400°F (175°C to 200°C)
Be sure to let your straightener heat up completely before you begin. Most modern models feature an indicator light or sound to let you know when they’re ready to use.
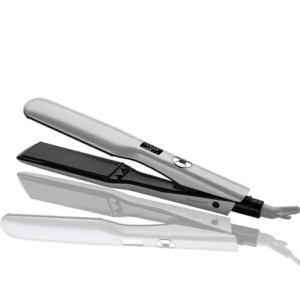
Huux 12 Temperature Levels Dry+Wet Hair Straightener
Work Methodically from the Bottom to the Top
The general rule when straightening hair is to begin with the bottom section. Starting from the lower layers allows you to work your way up in an organized, efficient manner, ensuring each strand is properly styled without interference from unstraightened sections above.
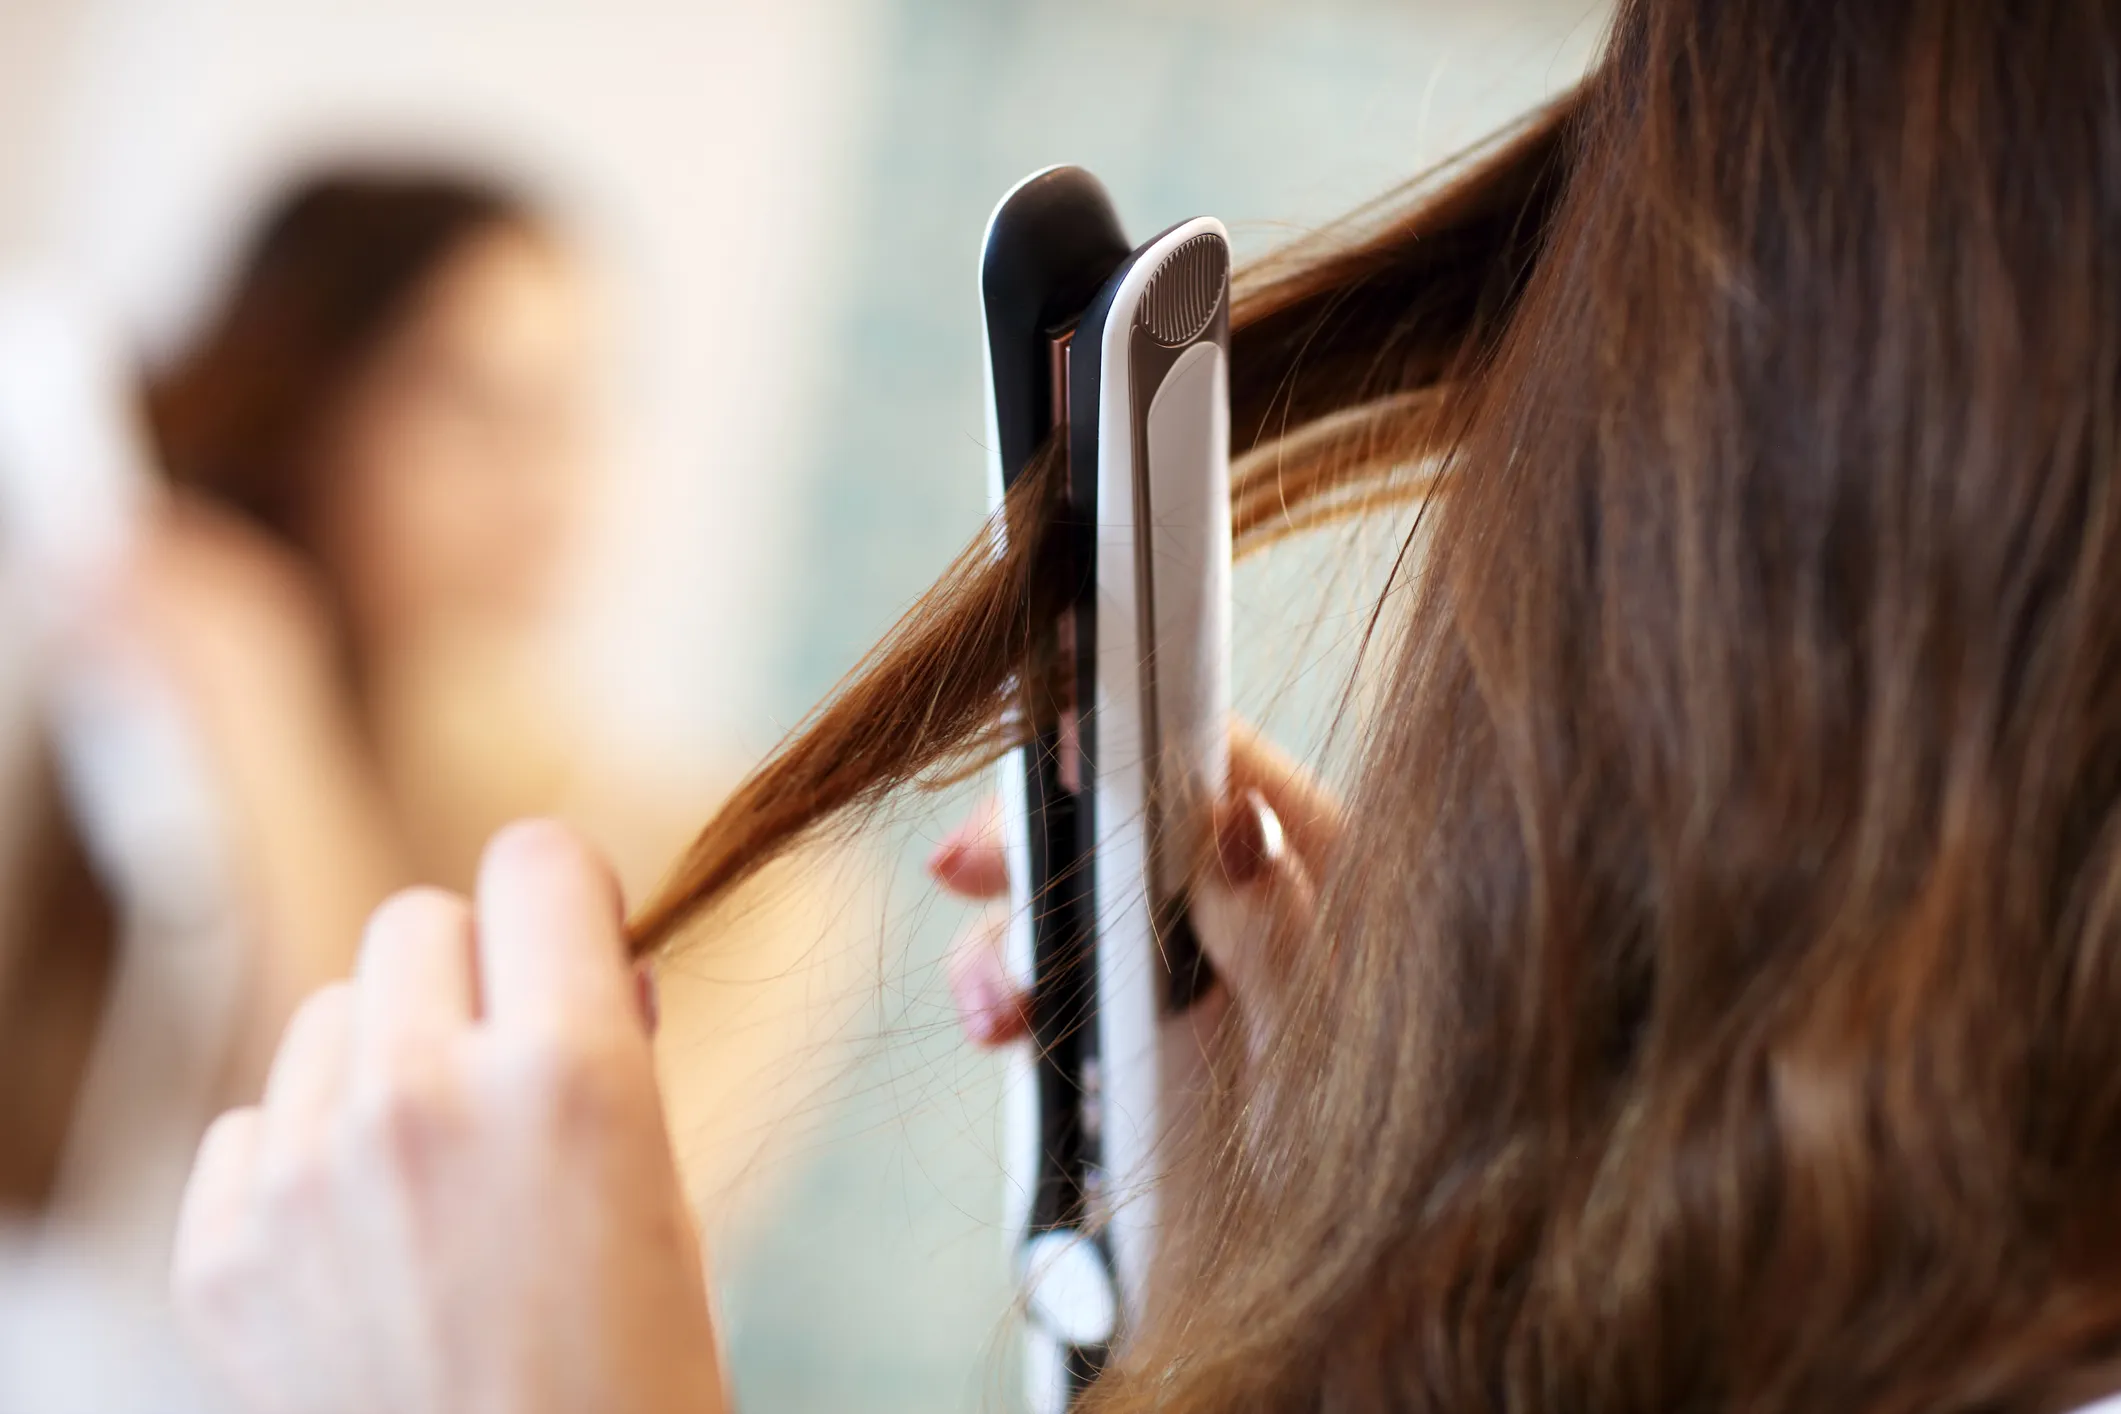
- Take a Small Section of Hair: Working with small sections (about 1-2 inches wide) ensures even heat distribution and more effective straightening. Hold the rest of the hair back with clips.
- Clamp the Straightener Near the Roots: Position the straightener close to the roots of your hair, about an inch away from your scalp to avoid burning yourself. Ensure the plates are clamped evenly and not too tightly to avoid creasing your hair.
- Smooth Glide Technique:
- Initial Pass: Start by gently gliding the straightener down the length of your hair in a smooth, controlled motion. Maintaining a consistent speed is keysince moving too quickly can result in uneven straightening while moving too slowly can cause heat damage.
- Recheck and Repeat: If necessary, repeat the process on the same section to achieve the desired level of straightness. Typically, one to two passes should be sufficient.
- Comb Through After Each Pass: Use a comb to follow the straightener as it moves down your hair. This ensures the hair remains untangled and the straightener moves smoothly.

Use Comb to follow the Straightener
(Note: Take your time when straightening the crown and front sections of your hair, as these areas frame your face and are the most visible. Make sure each strand is smooth, polished, and blends naturally with the rest of your hair to create a clean, cohesive look. This extra care can make a big difference in the overall finish of your style.)
Finishing Touches
After straightening all sections of your hair, it’s important to follow a few final steps to maintain your sleek look and extend its longevity. Let your hair cool completely before applying any finishing products. This helps lock in the straightened shape and ensures your style stays put longer.
If you want additional shine, apply a lightweight shine spray or serum to give your hair a smooth, glossy finish. Use it sparingly because just a small amount is enough to enhance shine without weighing your hair down or making it look greasy. To help your style hold throughout the day, use a light-hold hairspray. It keeps your hair in place while maintaining natural movement, avoiding that stiff or crunchy feel.

Step 5: Maintenance for Your Hair Straightener
Just like any other electronic device, proper cleaning and maintenance are essential for ensuring the longevity and performance of your hair straightener. Here are some tips on how to care for your straightener:
- Unplug and cool: Always unplug the straightener and allow it to cool completely before cleaning to avoid the risk of burns or electric shock.
- Wipe the plates: To clean the plates, gently wipe them with a wet cloth or a soft microfiber cloth that has been slightly moistened. If there is any stubborn residue, you can use a small amount of rubbing alcohol to remove it.
- Avoid abrasive materials: Never use harsh chemicals or abrasive materials, as they can scratch and damage the plates, affecting their performance.
- Storage: Store the straightener in a cool, dry place, avoiding wrapping the cord around the device to prevent damage to the cord and connections.
- Regular checks: Periodically inspect the straightener for any signs of damage to the cord or plates. If any issues are found, discontinue use and replace the straightener to ensure safe operation.
Achieving perfectly straight, sleek hair is a combination of using the right tools and techniques. By following this comprehensive, step-by-step guide, you can ensure that your hair straightening process is both effective and safe, leading to beautiful, salon-quality results right at home.
At Huux, we are dedicated to helping every customer achieve a perfect hairstyle with innovative products and expert advice. Whether you’re preparing for a special occasion or perfecting your everyday look, our products are designed to deliver professional results while protecting the health and integrity of your hair.
Choosing the right hair straightener, such as those offered by Huux, is the first critical step to a perfect hairstyling routine. With features like advanced ceramic technology, customizable temperature settings, and ergonomic designs, Huux hair straighteners provide the optimal balance of performance and protection for your hair.
Have questions or need personalized advice? Leave us a message online or email us at info@huux.com. Our team will get back to you within 24 hours.